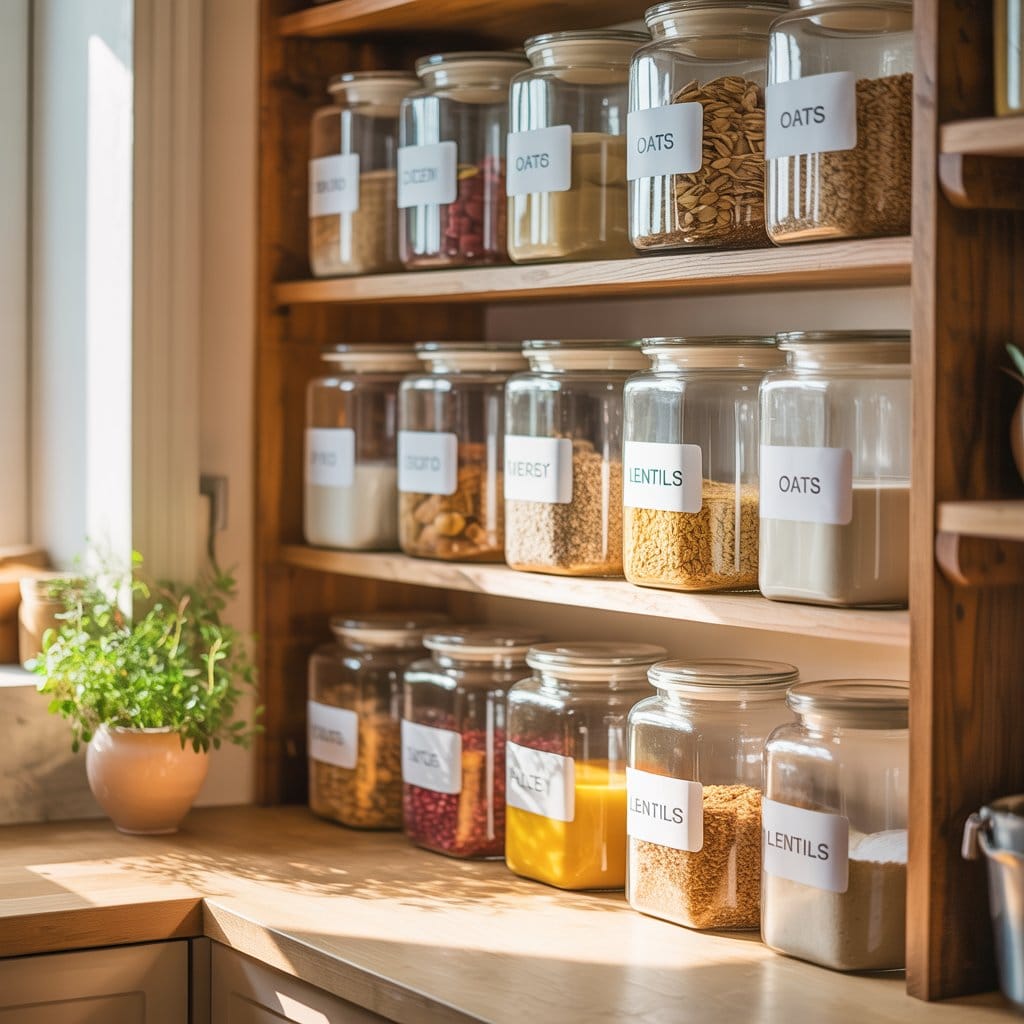
Labeled Glass Jars for Pantry
Introduction
Are you tired of a cluttered pantry where finding ingredients feels like a treasure hunt? Say goodbye to the chaos and welcome a beautifully organized pantry with the help of labeled glass jars. Not only do these jars add a touch of elegance to your kitchen, but they also make it easier to locate items quickly. In this guide, we will explore the wonders of labeled glass jars for pantry storage and provide you with valuable pantry storage tips to transform your space into a functional and visually appealing area.
Whether you are a seasoned organizer or just starting to declutter your pantry, incorporating labeled glass jars can revolutionize the way you store your essentials. Let’s dive into the world of pantry organization and discover how these jars can elevate both the aesthetic and functionality of your kitchen storage.
By the end of this guide, you will be equipped with the knowledge and inspiration needed to create a pantry that not only looks Pinterest-worthy but also simplifies your daily cooking routine. Let’s embark on this journey towards a more organized and efficient kitchen space together!
So, roll up your sleeves and get ready to transform your pantry into a space that sparks joy every time you open its doors.
Materials/Tools Required
Before you begin organizing your pantry with labeled glass jars, gather the following materials and tools:
1. Glass jars in various sizes
2. Labels or a label maker
3. Chalkboard paint (if opting for a chalkboard labeling approach)
4. Chalk or chalk markers
5. Cleaning supplies for your pantry shelves
6. A marker for labeling if not using a label maker
7. Creativity and a vision for your organized pantry
Once you have these items ready, you are all set to embark on your pantry organization journey.
Step-by-Step Instructions
1. Empty your pantry: Start by taking everything out of your pantry to assess what you have and declutter any expired items or things you no longer need.
2. Clean and prep the jars: Wash your glass jars thoroughly and ensure they are completely dry before transferring any items into them.
3. Label the jars: Use your labels or label maker to clearly mark the contents of each jar. This step is crucial for easy identification.
4. Fill the jars: Transfer your pantry staples such as grains, nuts, pasta, and snacks into the labeled glass jars. Be mindful of organizing similar items together.
5. Arrange the jars: Place the labeled glass jars back into your pantry in a way that is visually appealing and convenient for your cooking needs.
6. Enjoy your organized pantry: Stand back and admire your beautifully organized pantry with labeled glass jars. Embrace the convenience and aesthetic appeal they bring to your kitchen space.
Variations/Alternative Approaches
If you want to get creative with your pantry organization, consider the following alternative approaches:
1. Color-coded labels: Assign different colors to various food categories for a visually striking and organized look.
2. Mason jars with labels: Opt for mason jars instead of traditional glass jars for a rustic and charming pantry display.
3. Floating shelves: Install floating shelves in your pantry to showcase your labeled glass jars like a display in a boutique store.
4. Personalized labels: Create custom labels with fun designs or handwritten fonts to add a personal touch to your pantry storage.
Common Mistakes to Avoid
As you embark on your pantry organization journey with labeled glass jars, be mindful of these common mistakes:
1. Overcrowding jars: Avoid filling the jars to the brim as it can make it challenging to scoop out ingredients easily.
2. Forgetting to label: Skipping the labeling step can lead to confusion and defeat the purpose of an organized pantry.
3. Neglecting maintenance: Regularly check and restock your pantry items to ensure your labeled glass jars remain functional and efficient.
4. Ignoring expiration dates: Keep track of the shelf life of your pantry staples to prevent storing expired items in your glass jars.
Tips and Tricks
Enhance your pantry organization experience with these additional tips and tricks:
1. Invest in stackable jars to maximize vertical space in your pantry.
2. Use a lazy Susan for easy access to jars placed at the back of shelves.
3. Create a pantry inventory list to keep track of what you have and what you need to restock.
4. Group items by frequency of use to ensure frequently accessed ingredients are easily reachable.
Conclusion
Congratulations on taking the first step towards a more organized and visually pleasing pantry with the help of labeled glass jars. By following the tips and steps outlined in this guide, you are well on your way to transforming your pantry storage experience.
Embrace the beauty and functionality that labeled glass jars bring to your kitchen space, making cooking and meal preparation a breeze. Say goodbye to pantry clutter and hello to a space that reflects your style and personality.
Start your pantry organization project today and enjoy the benefits of a well-organized pantry stocked with labeled glass jars for easy access and a touch of elegance.
Here’s to a happier and more efficient kitchen experience with your newly organized pantry!
FAQs
Q: Can I use any type of glass jar for pantry storage?
A: While you can use various glass jars for pantry storage, it is recommended to opt for airtight jars to maintain the freshness of your pantry staples.
Q: How do I remove labels from glass jars for relabeling?
A: Soak the glass jars in warm, soapy water to loosen the labels, then gently scrub them off using a sponge or scrubbing pad.
Q: Are there alternatives to glass jars for pantry organization?
A: Yes, you can also use clear plastic containers or metal tins for pantry storage, depending on your preferences and pantry aesthetics.
Q: How often should I clean and organize my pantry?
A: It is advisable to clean and organize your pantry every few months to ensure everything stays fresh, accessible, and well-maintained.