A Beginner’s Guide to Painting Walls Like a Pro
Are you ready to give your home a fresh new look? Painting your walls is a great way to transform the atmosphere of a room and add your personal touch to the space. Whether you’re a complete beginner or have some experience, this guide will provide you with all the tips and tricks you need to paint like a pro and achieve a flawless finish.
Materials/Tools Required
Before you begin, make sure you have the following materials and tools:
Materials:
– High-quality paint in your desired color
– Primer (if necessary)
– Painter’s tape
– Drop cloths or plastic sheets
– Paint trays
– Paintbrushes
– Rollers and roller covers
– Extension pole (for hard-to-reach areas)
– Sandpaper (if needed)
– TSP cleaner or mild detergent
– Clean rags or paper towels
Step-by-Step Instructions
Follow these steps to paint your walls like a pro:
Step 1: Prepare the Room
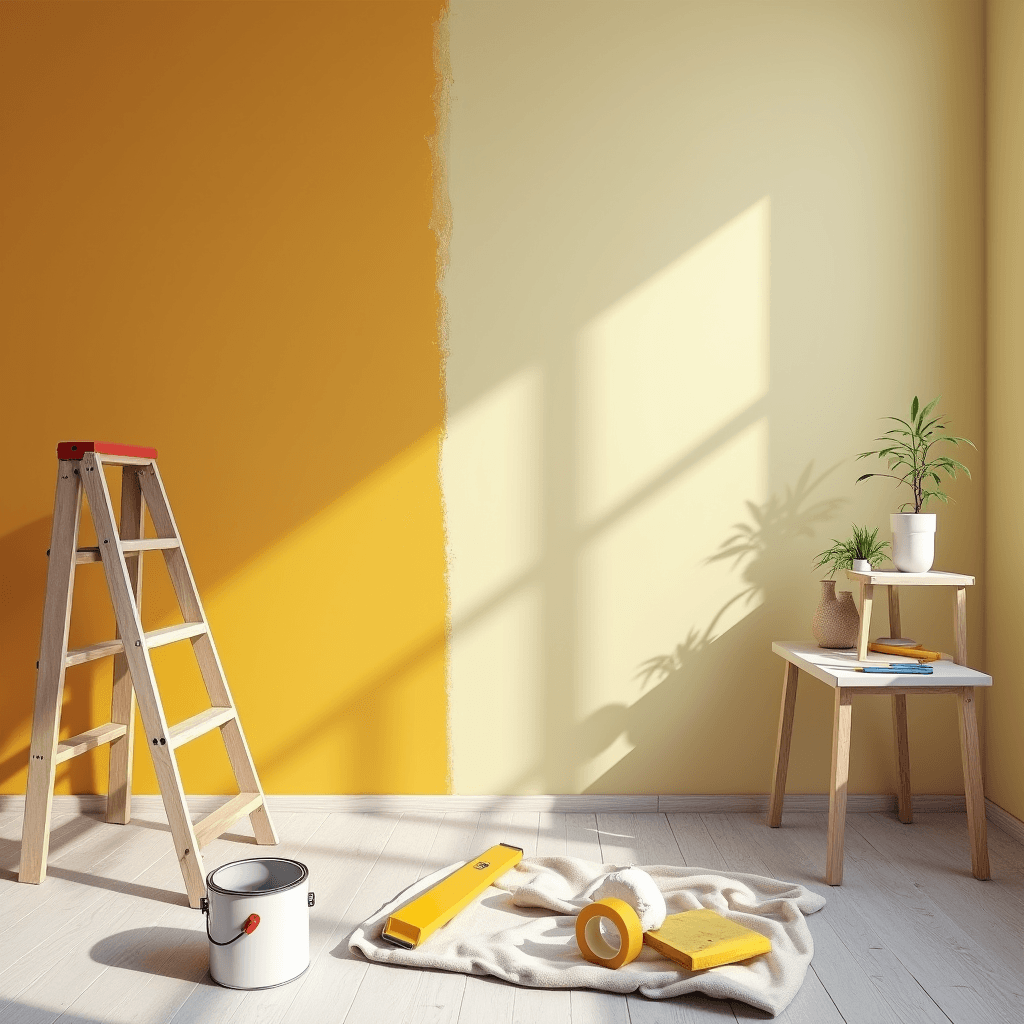
Start by removing any furniture or items that could get in the way. Cover the floor and any remaining furniture with drop cloths or plastic sheets to protect them from paint splatters. Use painter’s tape to tape off trim, windows, and edges.

Step 2: Clean the Walls
Use a mild detergent or TSP cleaner to clean the walls and remove any dirt or grease. Wipe them down with a clean rag or paper towel and allow them to dry completely.
Step 3: Repair Any Imperfections
If there are any holes, cracks, or other imperfections on the walls, use spackling compound or putty to fill them in. Once the filler is dry, sand it smooth with sandpaper and wipe away any dust.
Step 4: Apply Primer (If Necessary)
If you’re painting over a dark color or a surface with stains, applying a coat of primer can help ensure an even finish. Use a paintbrush to cut in the edges and corners, then use a roller to cover the rest of the wall.
Step 5: Paint the Walls
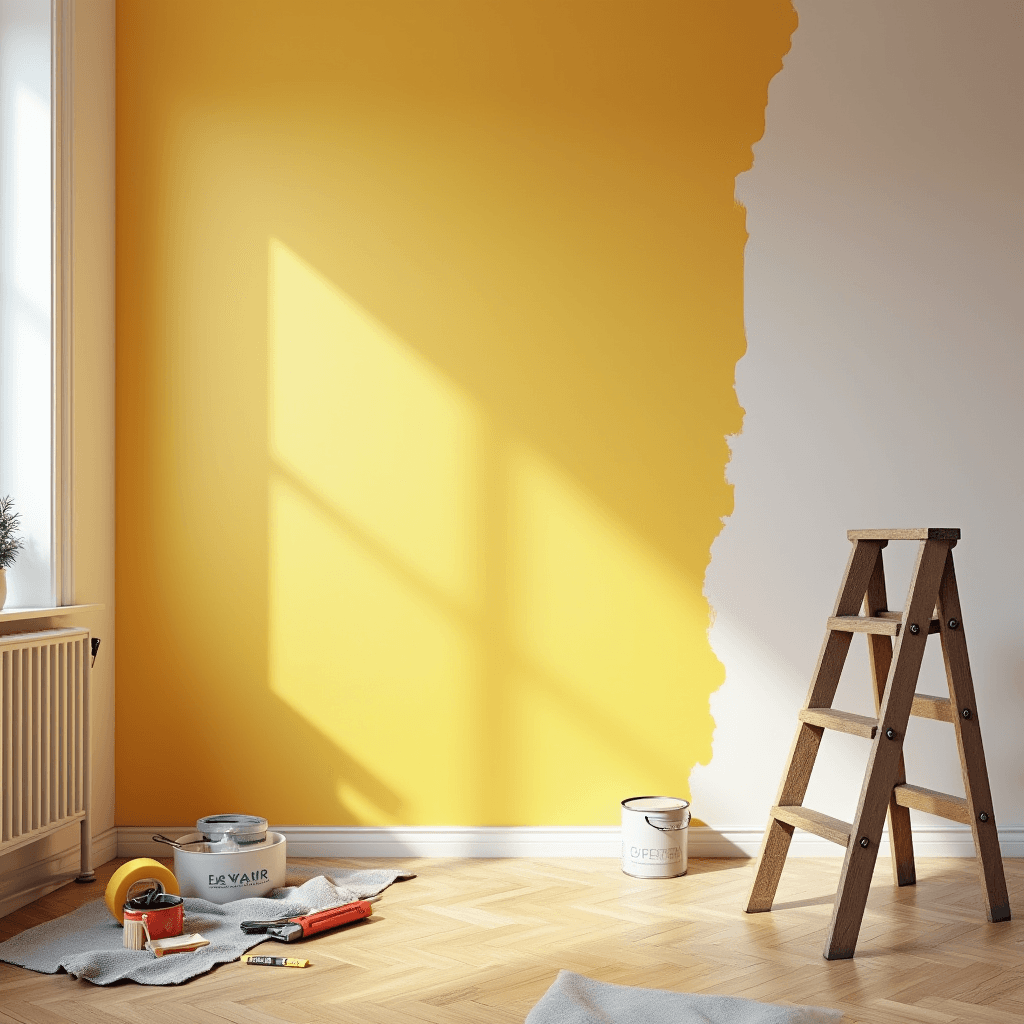
Start by cutting in the edges and corners with a paintbrush. Use a roller to apply the paint in a “W” or “M” shape, then fill in the space with vertical strokes. Work in small sections and blend the paint while it’s still wet to avoid visible brush or roller marks.
Step 6: Allow the Paint to Dry
Follow the paint manufacturer’s instructions for drying time. It’s important to allow the paint to fully dry before applying a second coat or removing the painter’s tape.
Step 7: Apply a Second Coat (If Necessary)
If you’re not satisfied with the coverage or color intensity after the first coat, wait for the paint to dry and apply a second coat following the same techniques as before.
Step 8: Remove the Painter’s Tape
Carefully remove the painter’s tape while the paint is still slightly wet. This will help create clean, crisp edges.
Step 9: Clean Up
Clean your brushes, rollers, and paint trays with warm soapy water. Properly dispose of any leftover paint or paint cans according to your local regulations.
Variations/Alternative Approaches
If you want to add some creativity to your walls, consider these variations or alternative approaches:
– Use a stencil to create a pattern or design on your walls
– Create an accent wall by painting one wall a different color
– Experiment with different paint finishes, such as matte, satin, or gloss
– Use painter’s tape to create geometric shapes or stripes
Common Mistakes to Avoid
While painting walls can be a straightforward process, there are some common mistakes to watch out for:
– Not properly preparing the room or protecting surfaces
– Applying too much or too little paint, resulting in an uneven finish
– Using low-quality paint or tools, which can affect the final result
– Rushing the process and not allowing enough drying time between coats
Tips and Tricks
Here are some additional tips and tricks to help you achieve a professional-looking paint job:
– Invest in high-quality paint and tools for better results
– Use a paint grid instead of a tray for easier roller loading
– Remove outlet covers and switch plates before painting for a cleaner look
– Paint in natural daylight to ensure accurate color representation
– Take breaks and step back to evaluate your progress and make any necessary adjustments
Conclusion
Congratulations! You’ve learned the basics of painting walls like a pro. With the right materials, proper preparation, and careful technique, you can achieve a flawless finish in your home. Don’t be afraid to get creative and try different approaches to add a personal touch to your walls. Now it’s time to grab your paintbrush and start transforming your space!
FAQs
Q: How long does it take for paint to dry?
A: Drying time can vary depending on factors such as humidity and the type of paint used. Most paints dry to the touch within a couple of hours, but it’s best to wait at least 24 hours before applying a second coat or removing painter’s tape.
Q: Can I paint over wallpaper?
A: It’s generally not recommended to paint over wallpaper, as the paint may not adhere properly and could lead to bubbling or peeling. It’s best to remove the wallpaper before painting for the best results.
Q: How do I clean painted walls?
A: Use a mild detergent or TSP cleaner diluted in water to clean painted walls. Gently scrub the surface with a sponge or soft cloth, then rinse with clean water and dry with a towel.

