
Easter Eggs with Paper Napkins
Table of Contents
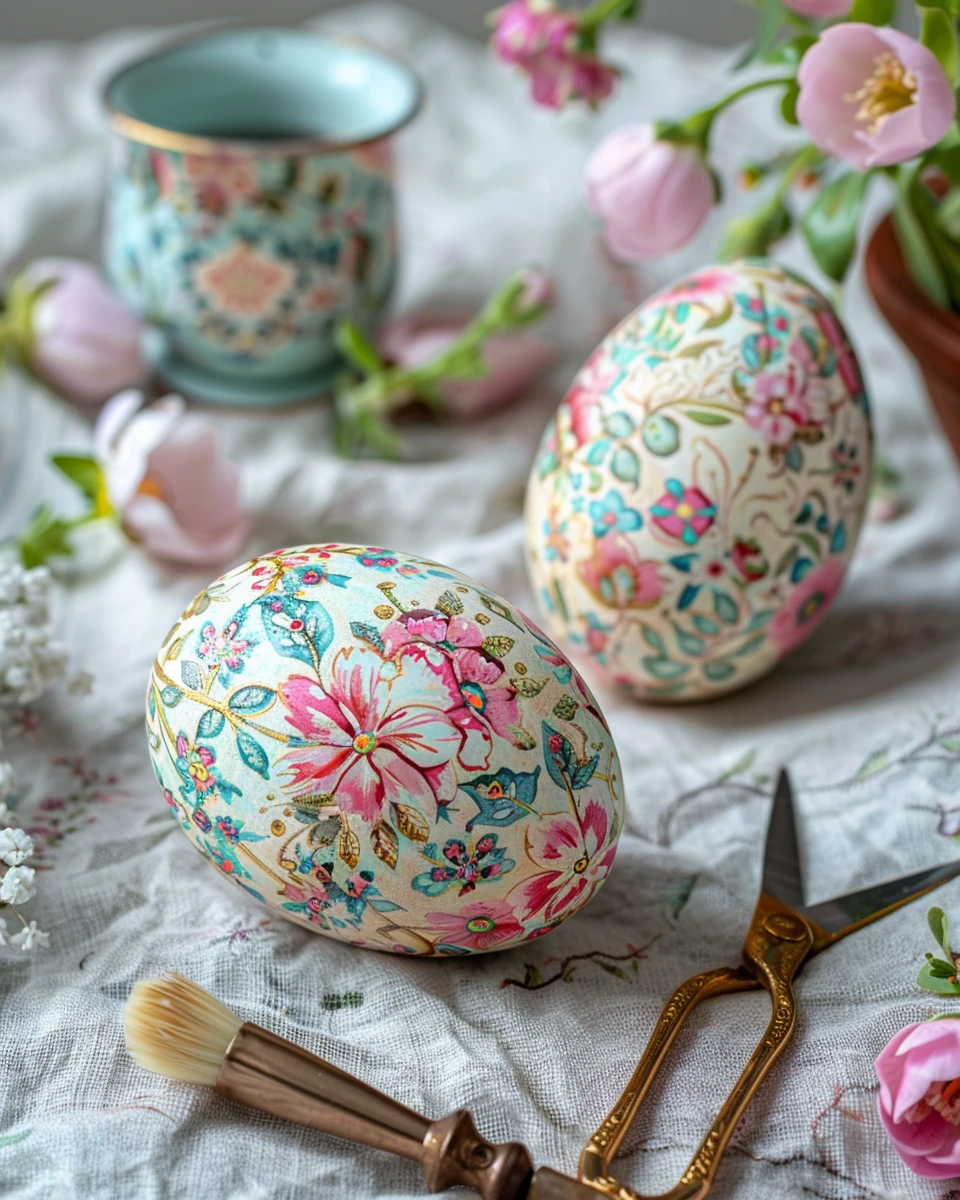
Welcome to a fun and creative DIY project that will add a touch of charm to your Easter decorations. Decoupage Easter eggs with paper napkins is a delightful craft that allows you to personalize your Easter eggs in a unique and colorful way. Whether you’re a seasoned crafter or a beginner looking for a fun spring project, this activity is sure to spark your creativity and bring joy to your home.
By following these simple steps, you can create beautiful decoupage Easter eggs that will impress your family and guests. Let’s dive into the materials and steps needed to embark on this fun and easy crafting adventure!
keyword: DIY Decoupage Easter Eggs
Materials/Tools Required
Before getting started, gather the following materials and tools:
– Hard-boiled or faux eggs
– Colorful paper napkins with Easter-themed designs
– Decoupage glue or Mod Podge
– Small paintbrush
– Scissors
– Optional: glitter, ribbons, or other embellishments
Ensure you have a clean and spacious workspace to comfortably work on your decoupage Easter eggs.
keyword: DIY Decoupage Easter Eggs
Step-by-Step Instructions
Follow these simple steps to create your own decoupage Easter eggs:
Step 1: Prepare the Eggs
If using hard-boiled eggs, ensure they are completely cooled. For faux eggs, make sure they are clean and dry.
Cut out the desired designs from the paper napkins. Carefully separate the layers of the napkin, as you will only be using the top printed layer.
keyword: DIY Decoupage Easter Eggs
Step 2: Apply Glue
Using the small paintbrush, apply a thin layer of decoupage glue or Mod Podge to a small section of the egg.
Gently place the cut-out napkin design onto the glued section, smoothing out any wrinkles or air bubbles with your fingers.
Continue this process, working in small sections, until the entire egg is covered with the napkin designs.
keyword: DIY Decoupage Easter Eggs
Step 3: Add Embellishments
For an extra touch of sparkle, consider adding glitter to certain areas of the egg while the glue is still wet.
You can also attach ribbons, sequins, or other decorations to enhance the overall look of your decoupage Easter eggs.
Allow the eggs to dry completely before displaying or using them in your Easter decor.
keyword: DIY Decoupage Easter Eggs
Variations/Alternative Approaches
While the traditional decoupage method involves using paper napkins, you can experiment with different materials such as fabric, tissue paper, or even dried flowers to create unique and personalized Easter eggs.
Consider using a variety of patterns and colors to mix and match designs on each egg, creating a vibrant and eclectic Easter display.
keyword: DIY Decoupage Easter Eggs
Common Mistakes to Avoid
One common mistake in decoupaging Easter eggs is applying too much glue, which can cause the paper napkin to tear or wrinkle. Remember to use a thin layer of glue and work carefully to avoid this issue.
Avoid rushing the process. Take your time to ensure each napkin design is properly applied and smoothed out for a flawless finish.
keyword: DIY Decoupage Easter Eggs
Tips and Tricks
For a glossy finish, apply a final coat of decoupage glue or Mod Podge over the entire egg once all the designs and embellishments are in place.
To create a vintage look, consider distressing the edges of the napkin designs with sandpaper after they are glued onto the egg.
Display your decoupage Easter eggs in a decorative basket or arrange them on a tray as a festive centerpiece for your Easter celebrations.
keyword: DIY Decoupage Easter Eggs
Conclusion
Congratulations on completing your decoupage Easter eggs! This simple yet enjoyable craft is a wonderful way to add a personal touch to your Easter decor and create lasting memories with loved ones. Get creative, have fun, and enjoy the process of transforming ordinary eggs into works of art.
Don’t hesitate to experiment with different designs and techniques to make each egg truly unique. Embrace the joy of crafting and spread the Easter cheer with your beautifully decorated eggs.
keyword: DIY Decoupage Easter Eggs
FAQs
Q: Can I use plastic eggs instead of real eggs for decoupage?
A: Yes, plastic eggs can be a great alternative for decoupaging if you prefer a longer-lasting decoration. Ensure the plastic eggs are clean and dry before applying the napkin designs.
Q: How long does it take for the decoupage glue to dry completely?
A: Depending on the thickness of the glue and the environment’s humidity, it typically takes about 1-2 hours for the glue to dry to the touch. For complete drying, allow the eggs to sit overnight.
keyword: DIY Decoupage Easter Eggs