
Introduction
Welcome to the world of DIY Floating Shelves! If you’re looking for an easy, stylish, and budget-friendly way to enhance your home decor, you’ve come to the right place. Floating shelves are a fantastic addition to any room, providing both functionality and aesthetics. Whether you’re a beginner or a seasoned DIY enthusiast, this guide will walk you through the steps of creating your very own floating shelves that will elevate your space to new heights.
Materials/Tools Required
Before diving into the project, let’s gather the necessary materials and tools. For this DIY project, you’ll need:
– Wood boards (preferably 1×4 or 1×6)
– Wall anchors
– Screws
– Drill
– Level
– Measuring tape
– Sandpaper
– Paint or stain (optional)
– Paintbrush or sponge (if painting)
– Screwdriver
Step-by-Step Instructions
Now that we have everything we need, let’s get started on creating your DIY floating shelves:
1. Measure and mark the desired length of your shelves on the wood boards. Use a measuring tape and a pencil to ensure accuracy.
2. Cut the boards to the desired length using a saw. If you don’t have a saw, most home improvement stores offer wood cutting services.
3. Sand the cut edges of the boards to smooth out any roughness. This will give your shelves a polished look and prevent any potential splinters.
4. If you prefer a painted finish, now is the time to apply your chosen paint color. Use a paintbrush or sponge to evenly coat the boards. Allow them to dry completely before moving on to the next step.
5. Determine the placement of your shelves on the wall. Use a level to ensure they are straight and mark the spots where the shelves will be installed.
6. Pre-drill holes into the marked spots on the wall. This will make it easier to insert the wall anchors.
7. Insert the wall anchors into the pre-drilled holes. These anchors will provide extra support and stability for your floating shelves.
8. Position the boards on the wall, aligning them with the wall anchors. Use a screwdriver to secure the boards to the wall by screwing through the boards and into the wall anchors.
9. Double-check the levelness of your shelves and make any necessary adjustments.
10. Once everything is securely in place, step back and admire your beautiful new DIY floating shelves!
Variations/Alternative Approaches
While the above instructions outline the basic process of creating floating shelves, there are endless possibilities for customization. Here are a few alternative approaches you can try:
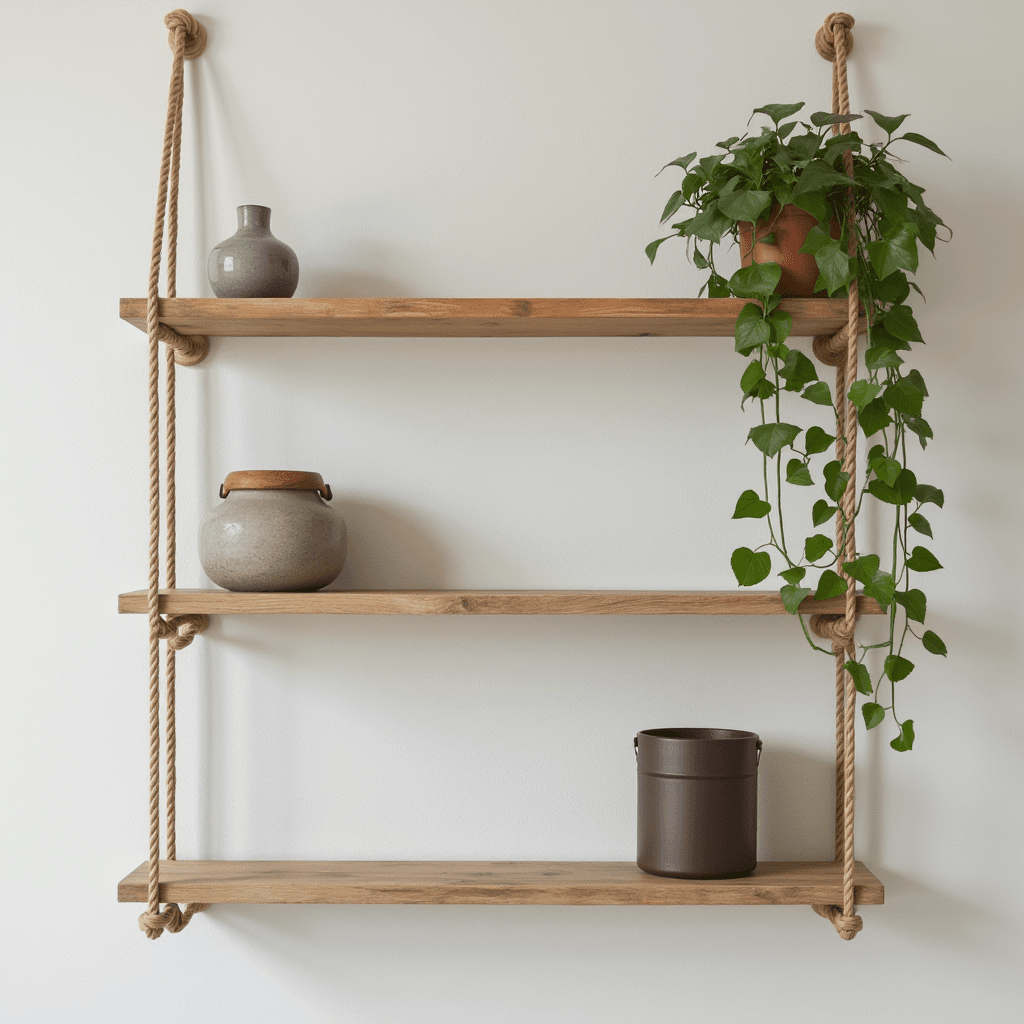
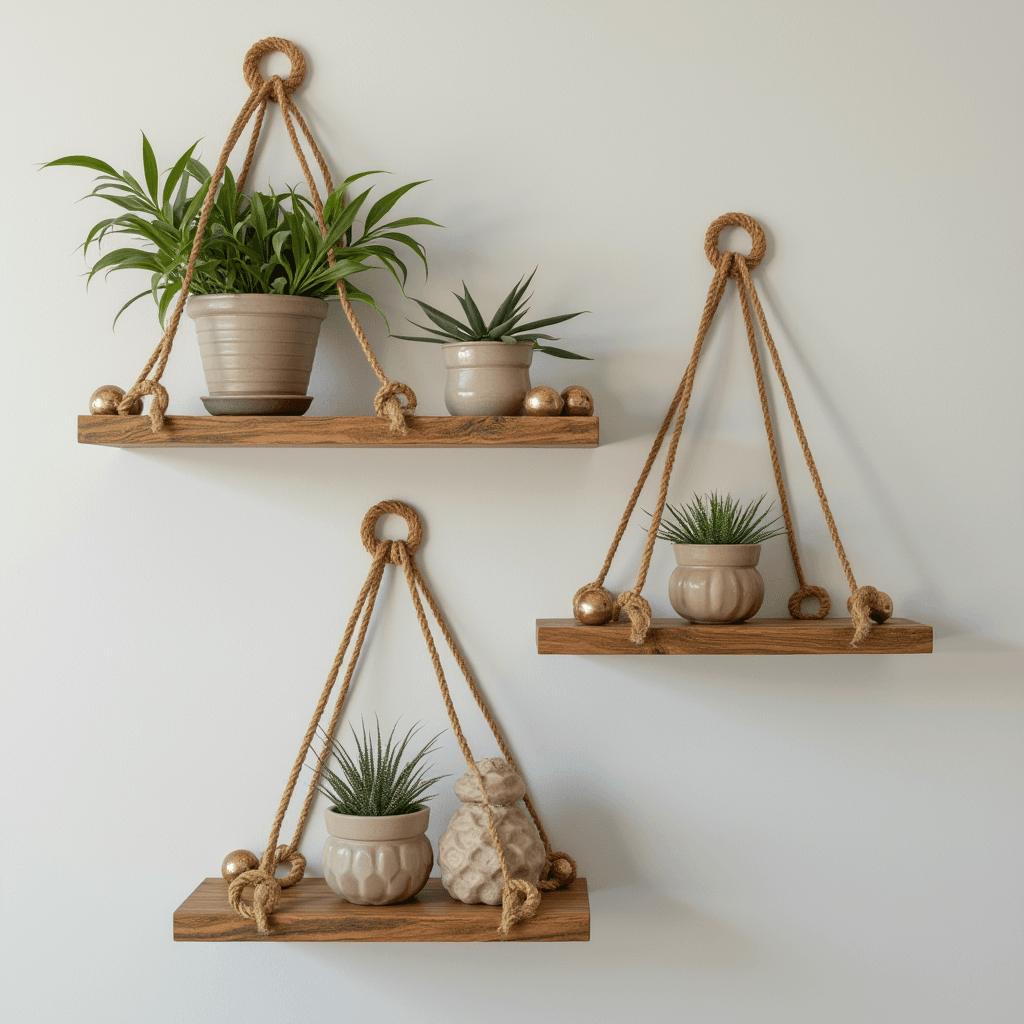
– Use reclaimed wood for a rustic look
– Add decorative brackets underneath the shelves for extra flair
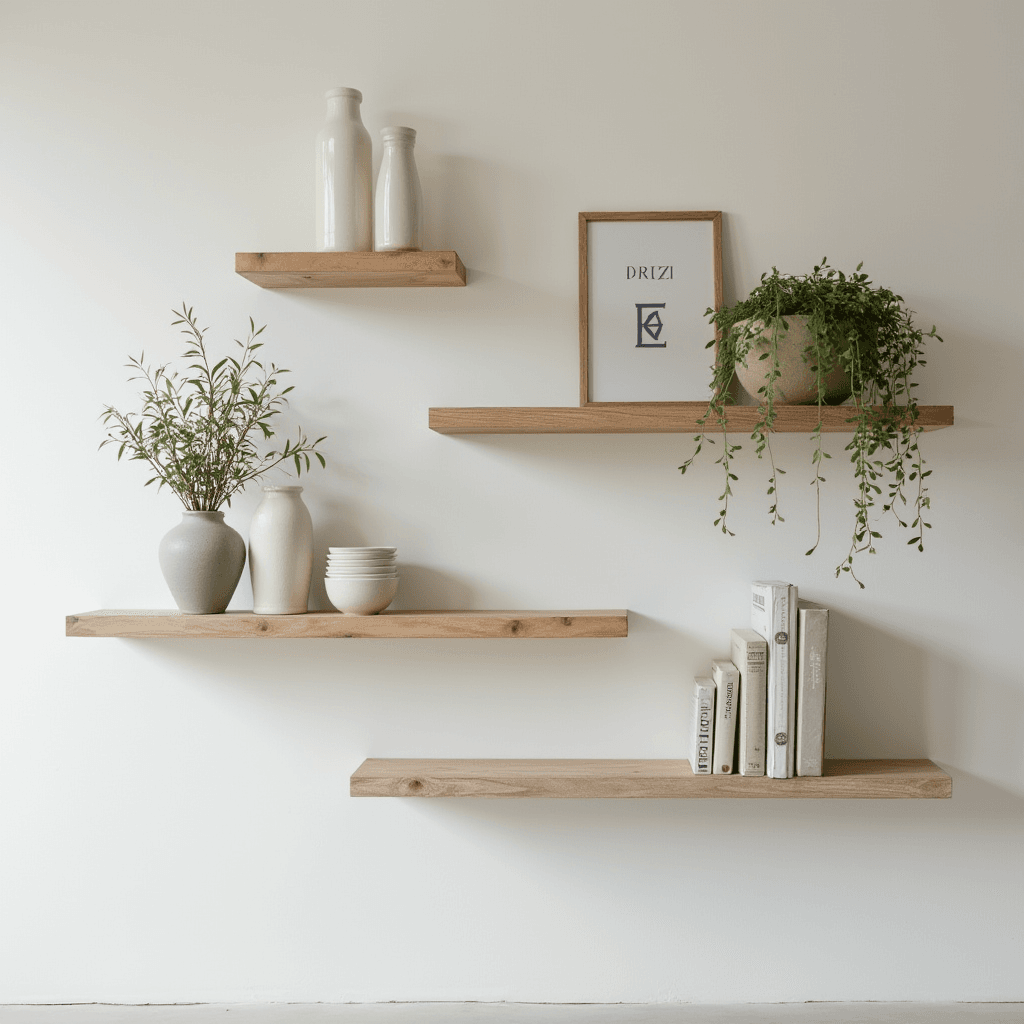
– Create asymmetrical arrangements by varying the lengths of the shelves
– Paint the shelves in bold colors to make a statement
– Install LED strip lights underneath the shelves for a modern touch
Common Mistakes to Avoid
As with any DIY project, there are a few common mistakes to watch out for:
– Not properly measuring and marking the wall before installation
– Using the wrong type or size of screws
– Forgetting to pre-drill holes, which can cause the wood to split
– Failing to use a level, resulting in crooked shelves
– Overloading the shelves with too much weight, causing them to sag or detach from the wall
Tips and Tricks
Here are a few additional tips to ensure your DIY floating shelves turn out perfectly:
– Sand the wood boards thoroughly to achieve a smooth finish
– Apply multiple coats of paint or stain for a more vibrant color
– Use a stud finder to locate wall studs for added support
– Experiment with different shelf depths to accommodate different items
– Add decorative items such as plants, books, or picture frames to personalize your shelves
Conclusion
Congratulations! You’ve successfully learned how to create your own DIY floating shelves. Not only are these shelves a practical storage solution, but they also add a touch of elegance and style to any room. By following the step-by-step instructions and keeping our tips in mind, you can confidently embark on this DIY project and transform your space. So go ahead, unleash your creativity, and enjoy the satisfaction of building something beautiful with your own hands.
FAQs
1. Can I use different types of wood for my floating shelves?
Absolutely! While the instructions mention using wood boards, you can choose any type of wood that suits your preferences and complements your decor style.
2. How much weight can floating shelves hold?
The weight capacity of your floating shelves depends on the type of wall anchors used and the strength of your wall. However, as a general guideline, 1×4 or 1×6 wooden boards with proper anchoring can typically hold up to 20-30 pounds per linear foot.
3. Can I install floating shelves without wall anchors?
Using wall anchors is highly recommended to ensure the stability and strength of your shelves. Without them, the shelves may not be able to support much weight and could potentially damage your walls.
4. Can I install floating shelves on a tiled wall?
Yes, you can install floating shelves on a tiled wall. However, the installation process may be slightly different. It’s important to use the appropriate tools and techniques to avoid damaging the tiles. Consider using a tile drill bit and specialized wall anchors designed for tiled surfaces.
5. How far apart should I space my floating shelves?
The spacing between your floating shelves depends on your personal preference and the items you plan to display. As a general guideline, a distance of 10-14 inches between shelves works well for most decorative items and books.